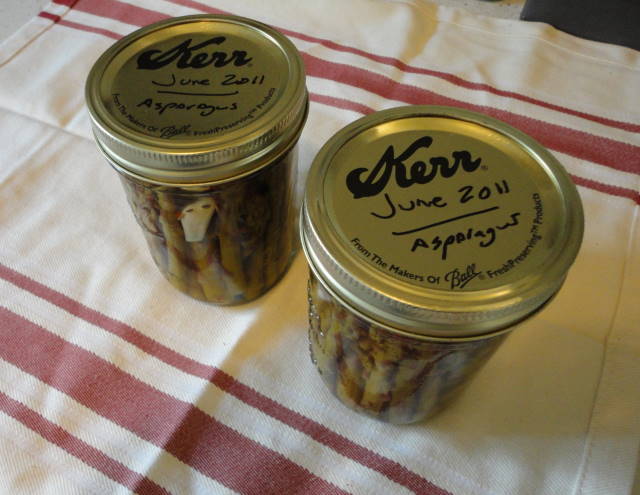
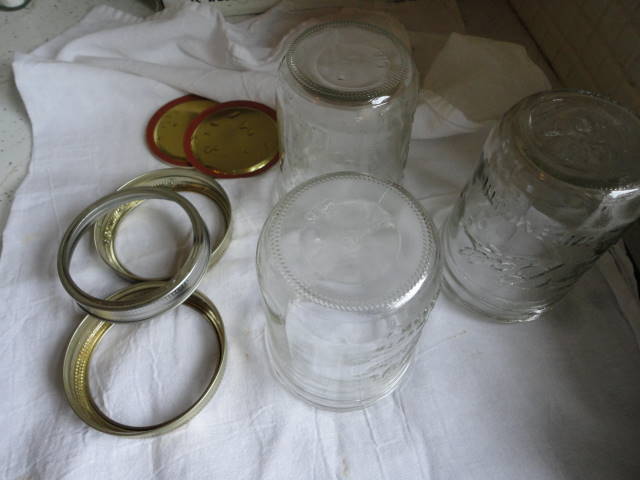
I know, it is almost September. So why am I pulling out these images of a pickling project from last May? It seems that I am just now finding the time to write up a few notes about pickling asparagus. I hope you will still find them interesting.
Someone once suggested that it would be very helpful to them if I timed my posts so that the products I use in each would be available fresh in the market about a week after the post was published. You know, to give them time to prepare for the upcoming project, get supplies, etc. Would that my life was so organized. I generally find time for seasonal projects, but I tend to run a couple months behind on documentation. I guess that makes me a bad blogger. You can consider this your early warning…the local asparagus arrives in late April or early May. Start making your plans now.
So, Pickling asparagus. Well, making pickles is a pretty straight forward process and a good introduction to canning if you have not tried it before. One of the most important considerations for home canning is to follow a method that insures no harmful bacteria or germs will survive the canning process to make you sick when you eventually eat your canned food. When making pickles with vinegar, both the high acidity of the vinegar and the addition of salt create a very inhospitable environment for bacteria, so the chances of having any sort of contamination is greatly lowered
(Note that the best way to be safe when canning is to get your hands on a reputable guide to safely home canning, like the USDA Complete Guide to Home Canning. This guide is widely available free on line so there is no reason not to give it a read.)
Pickle making, simply put, is putting vegetables or fruits in a salt and vinegar brine, generally with flavoring elements like dill or garlic or spices,and letting it sit until the vegetable has been transformed by the brine. This can be done with raw vegetables, as is the case with cold-brine dill pickles, or with cooked vegetables, or even with raw vegetables that are cooked after being put in the brine. An example of the last would by the way my mom made dill pickles. She would pack the raw, washed cucumbers in mason jars with dill, spices, garlic and onions, then cover with a hot cider vinegar based brine, screw on the 2 piece lids, then boil the jars for 15 minutes in a water bath to seal. The cucumbers cooked during the sealing process.
As to the composition of the brine, there are some basic considerations. First, the vinegars should be at least 5% acidity. Second, you should not skimp on salt, even if you prefer a less salty pickle. I use about 1 tab of kosher salt for each cup of liquid, maybe a bit less. As I said, both the acid content and the salt content are important preservation measures, so one should be careful about lowering the amount of either.
The vinegar one chooses is really a matter of taste as long as the 5% acidity rule is observed . A lot of old-time-y pickle recipes call for white distilled vinegar, mostly I suspect because it is inexpensive. I prefer white wine vinegar, but cider vinegar also works well. I will often us 50/50 white wine and cider.
When it comes to the addition of spices, herbs and sugar (as for sweet pickles), again the choices are endless. I like to keep in mind how I intend to serve the pickles when choosing the spice profile. Thinking of pickles asparagus for your bloody marys? Maybe garlic and a bit of heat from chilies would be better than dill.
The quality of the vegetables selected for canning cannot be under estimated. Lets face it, when I am going to invest a lot of time in making pickles, I start with the best quality I can get. Seasonality is key in this. Canning is what you do at the peak of the season when there is so much of a certain product that you cant eat it all. With asparagus, I think that about a week after the season starts, the asparagus will be at its best. Any later and you start to get stalks that are on the verge of flowering out, instead of the firm, compact heads of the early season.
When I make pickled asparagus, I like to blanch the spears first, then put them hot into pint jars, add the spices, garlic and a bit of dill, then fill the jars with hot brine and seal them quickly. The recommended method (by our friends in the USDA) for sealing jars is to boil the filled jars 12 minutes in water well over the height of the jar tops. Clearly, since the jars are to be boiled, you could put the asparagus into the cans raw, but in past efforts, it seems to me that a quick blanch before canning yields pickled asparagus with a firmer, more attractive texture. I like to can in pint jars, since I most often use pickled asparagus as part of a relish tray with drinks before dinner; a pint seems like just enough for one evening.
This year I bought my asparagus at the farmer’s market at Union and Martin Luther King Way in the last week of May. The weight of asparagus required to fill a few jars is greater than you might think; consider that the tough stems must first be removed, and that then the stalks need to be cut to a size small enough to fit in your jars. In the case of using pint jars, the spears need to be cut pretty short, as they must be completely submerged in the brine for them to pickle properly. Plan on purchasing about 1.5 – 2# of asparagus for each pint jar to be filled.
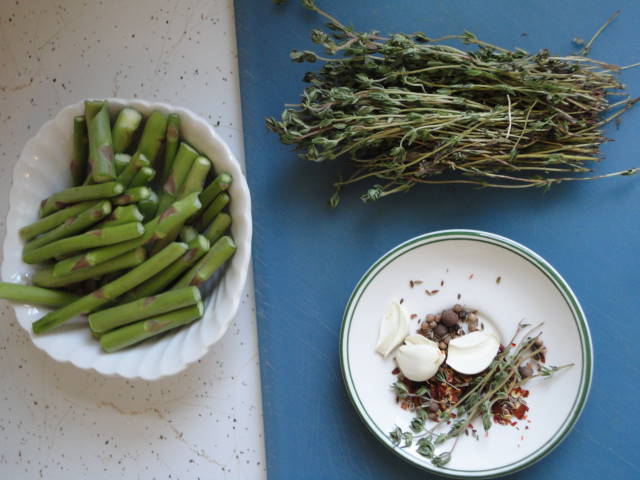
The good news is that much of the stem that must be trimmed (to make the spears fit in the jars) can be eaten fresh, reducing the cost of this project. I snap off the tough ends first (even these can be used for making soup if you are hardcore about squeezing every $$ out of your market purchases. Simmer them with aromatics like onions, leeks, shallots, etc, maybe a little curry powder, and a bit of chicken stock. When the stems are very tender, add some cream and puree, pass though a fine sieve and finish with S&P and butter ), then trim to length for the jars, saving this trim for stir-fry or for baking in papillote with a piece of fish.

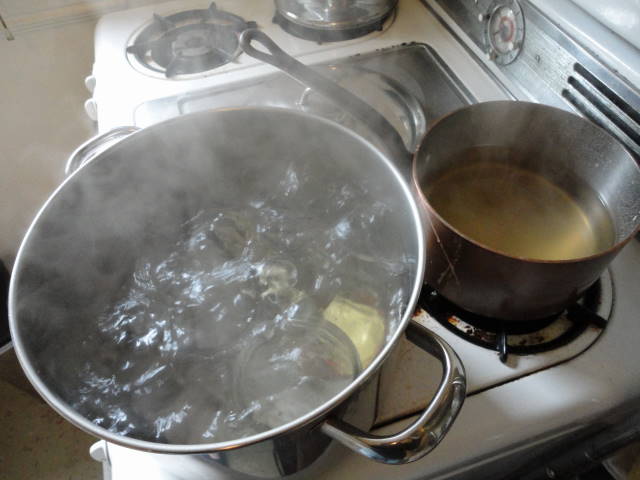
I put to boil a big pot of water with for sterilizing jars and lids as well as for sealing the jars. I start another with a healthy pinch of salt for blanching the asparagus. Next I combine the ingredients for the brine in a pot and boil it out, then reduce the heat to a slow simmer. Next, I arrange the flavoring ingredients for each jar so that they are ready to go. And finally, I stem, trim and wash the asparagus.
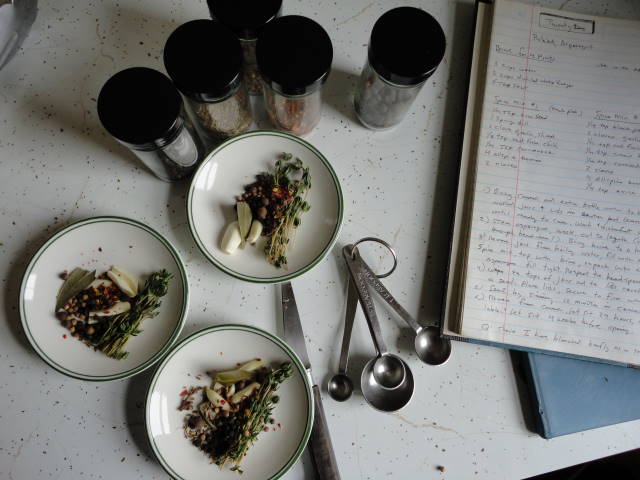
From this point on, the process goes along quickly. The spears, hot from the blanch, are stuffed tightly into the jars, the spices, garlic and herbs are added, and the whole covered with hot brine. The lids are then screwed on tightly and the jars are sealed.
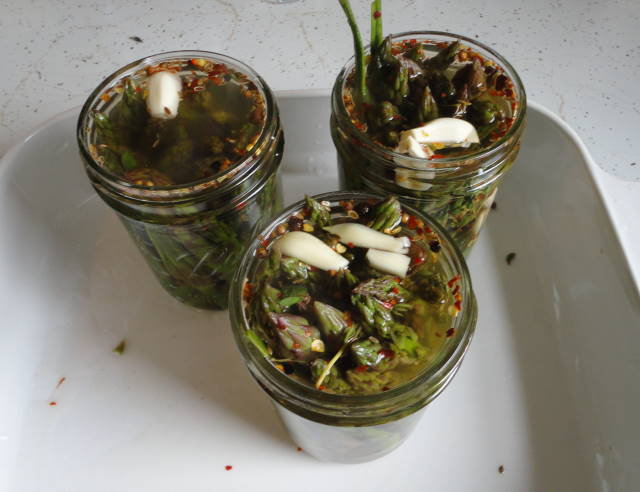
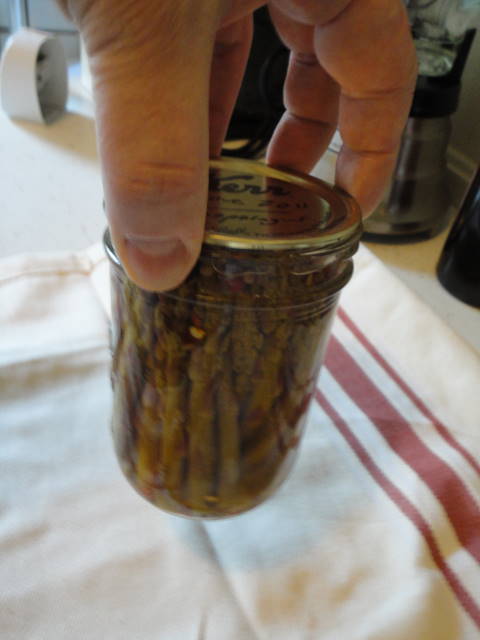
The next day, with a little luck, all the jars have cooled and formed a seal. The best way to tell if the jars are sealed is to simply lift them by the lid and see if the seal holds.
The next step is to wait, about 4 weeks minimum, in order to give the salt and vinegar time to perform their pickling magic. More time is better, but that is part of the fun…as you eat your pickles throughout the year, you can gauge the effect of leaving them longer and longer lengths of time on their brine. During the wait, the pickles should be kept in a cool, dark place, preferably in the cellar like my grandma used have beneath here Hilltop neighborhood home in Tacoma. Apartment dwellers like myself will have to make due with the back of a closet.
You can find my recipe for pickled asparagus in the recipe page.
